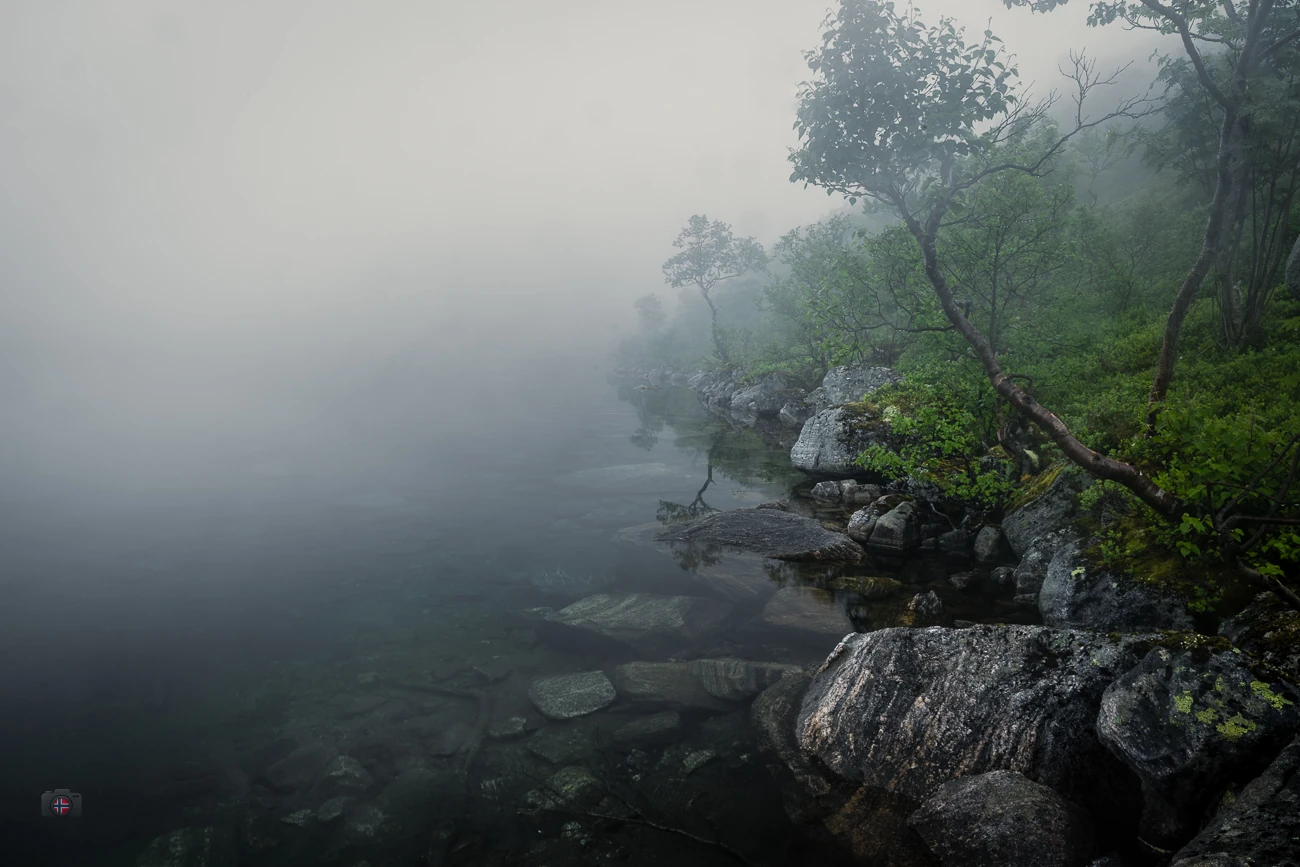
Fog can turn a familiar landscape into something entirely different. A group of trees I might usually walk past suddenly stands alone in the grey. Half a mountain disappears. One narrow strip of light is enough to transform an ordinary scene into a photograph that stays with me.
That is why I enjoy photographing fog. It simplifies the landscape, conceals details and changes the sense of distance. It suits the way I see landscape photography. I am not trying to fit as much as possible into the frame. I look for a subject that still works when almost everything around it disappears.
There are practical challenges, though. The light behaves differently, a camera’s meter can be fooled and autofocus may struggle to find an edge to lock onto. Here is how I approach camera settings, exposure, light and composition when photographing fog, without losing the atmosphere that drew me outside in the first place.
Fog photography: Why does the light look different?
Fog is made of tiny droplets of water suspended in the air. They scatter incoming light. Hard shadows become softer, colours look quieter and distant details lose contrast. The same location can seem unremarkable on a clear day and mysterious when the fog moves in.
I find the most interesting conditions are often uneven. Perhaps fog sits only in a valley. Perhaps it drifts between two ridges. Sometimes the sun is just a pale disc behind the mist. I look for those differences. A single edge of light can matter more than the whole view.
I have no desire to make every foggy morning look bright and dreamy. I like darker photographs too. When one rock or tree stands out and everything around it becomes less important, an image gains a tension that I find particularly appealing.
Camera settings for photographing fog
There is no perfect setting for every foggy landscape. Dark woodland before sunrise needs a different approach from a bright sea of fog with the sun behind it. Still, I have a few starting points. The subject, movement and available light determine what happens next.
| Setting | Useful starting point | What matters |
|---|---|---|
| File format | RAW | More flexibility for white balance and tones |
| ISO | 100–400; higher if necessary | A sharp photo matters more than an artificially low ISO |
| Aperture | f/5.6 to f/11 for landscapes | f/2.8 or f/4 can suit an isolated subject |
| Shutter speed | Depends on focal length, movement and tripod | Fast enough handheld; more freedom with a tripod |
| White balance | Auto as a starting point when shooting RAW | Review the intended cool or warm colour later |
| Focus | A visible edge or manual focusing | Do not aim at a featureless patch of fog |
With my Canon R5 and RF 24–70mm f/2.8, I can move between a wider landscape and a small detail without constantly changing lenses. That helps when the fog is shifting. I reach for the RF 16mm when a close foreground is part of the composition. A macro lens can be useful for smaller details. In the end, the equipment matters less than deciding what deserves to remain visible.
How to expose photographs in fog
Bright fog can confuse a camera’s exposure meter. Faced with a largely pale scene, the meter may suggest an exposure that renders the fog muddy grey instead of almost white. A little positive exposure compensation can help. As a starting experiment, I might try +0.3 to +1 EV, then check the result rather than following a fixed rule.
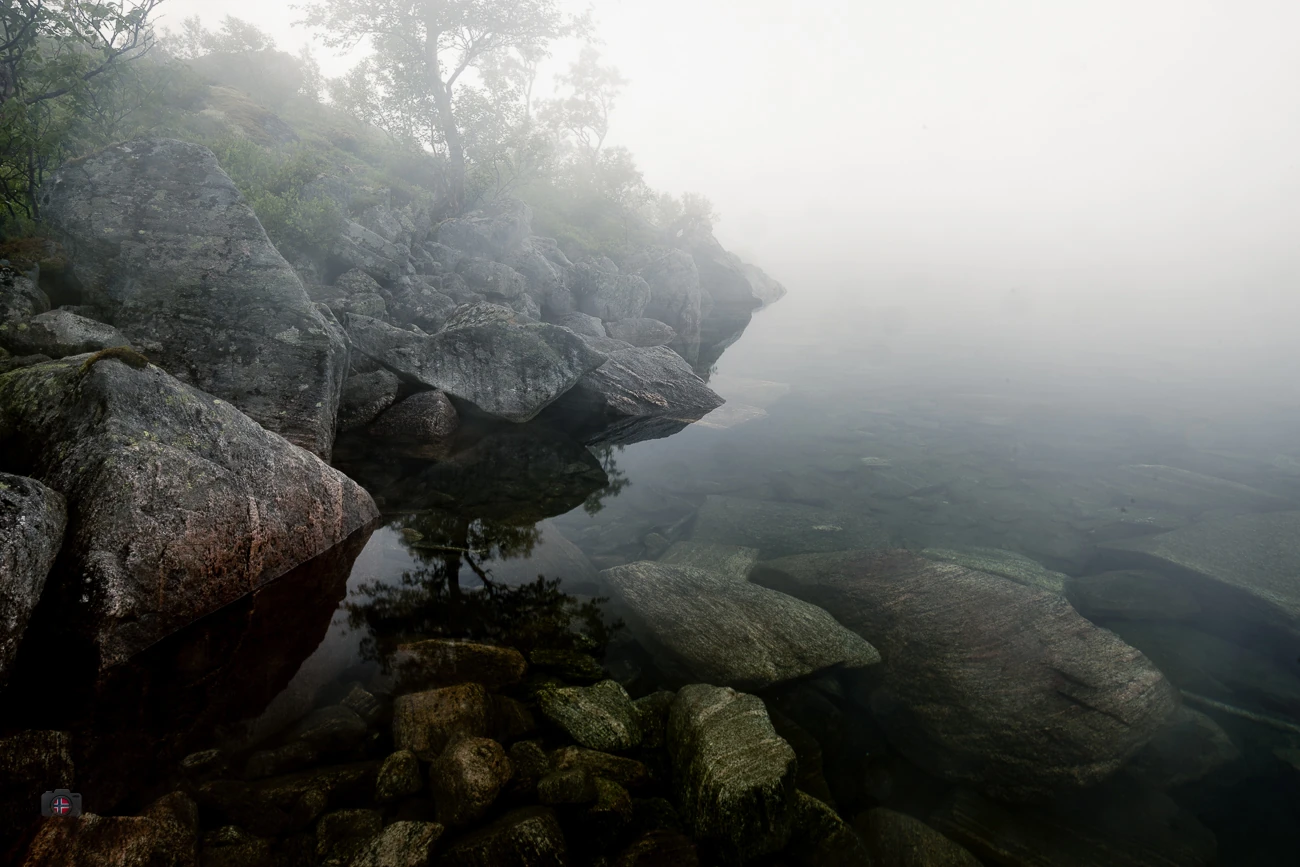
I look at the histogram and, above all, the important highlights. A sun behind thin fog can lose detail very quickly. If the photograph is about a dark silhouette, I may deliberately let the foreground fall into shadow. The advice to always brighten fog is no more useful than a rule saying every fog photograph must be dark.
Exposure bracketing can help when fog opens and closes rapidly and the light changes with it. My Canon R5 makes this straightforward. But I use it to solve a real exposure problem, not because every landscape needs a stack of files.
Autofocus in fog: When the camera cannot find a subject
Autofocus relies on recognisable detail and contrast. Dense fog gives it very little to work with. The focus can hunt back and forth while the moment in front of you changes. That is particularly frustrating when the light is just right.
I aim at a visible edge: a tree trunk, the outline of a rock or a sharp detail in the foreground. If autofocus still struggles, I switch to manual focus and check sharpness in a magnified view. Hyperfocal distance is not a magic solution here. If the background is meant to disappear, there is no need to force everything to the horizon into focus.
Composing fog photographs: Show less, create more impact
One common mistake is to use the same wide composition that would work on a clear day. In fog, it can simply look empty. I look for a shape that gives the viewer something to hold on to: one tree, a line of weathered posts, a rock beside a lake or a dark ridge against a pale background.
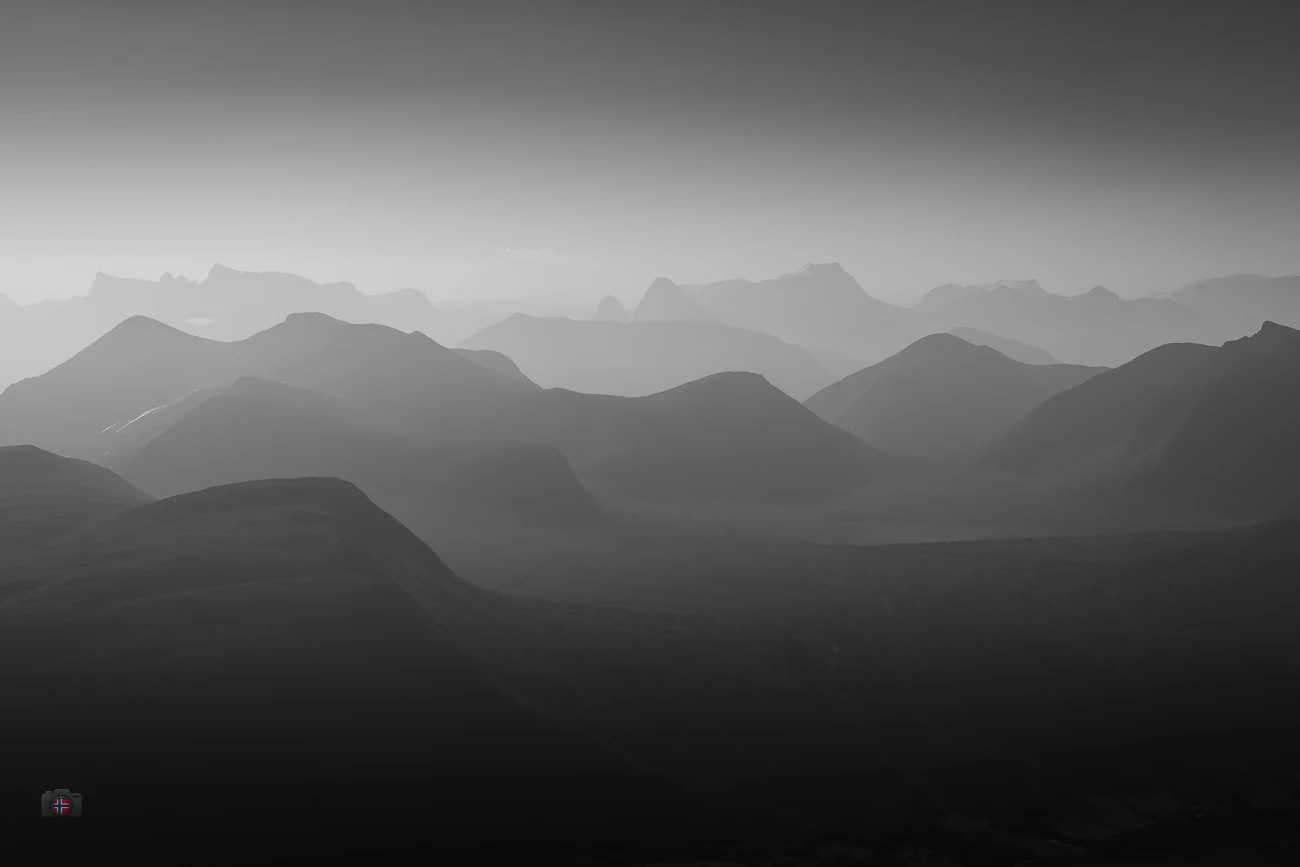
Sometimes the opposite approach works: a succession of mountain ridges growing lighter in the fog. Depth comes from differences in contrast and distance alone. My photograph in Stille Has No Shape explores exactly that relationship between layers, distance and light.
I pay close attention to the edges of the frame. A cut-off branch or a bright distraction in one corner can destroy the calm. Taking a few steps to the left or right often makes more difference than editing afterwards. Fog provides the conditions. I still have to do the photography.
Photographing fog in the forest
In woodland I love the separation between near and far. One dark trunk in front, another line of trees behind it, then nothing but grey. Side light can make those layers more distinct. There is no need to show an entire forest. Two or three trees may be enough.
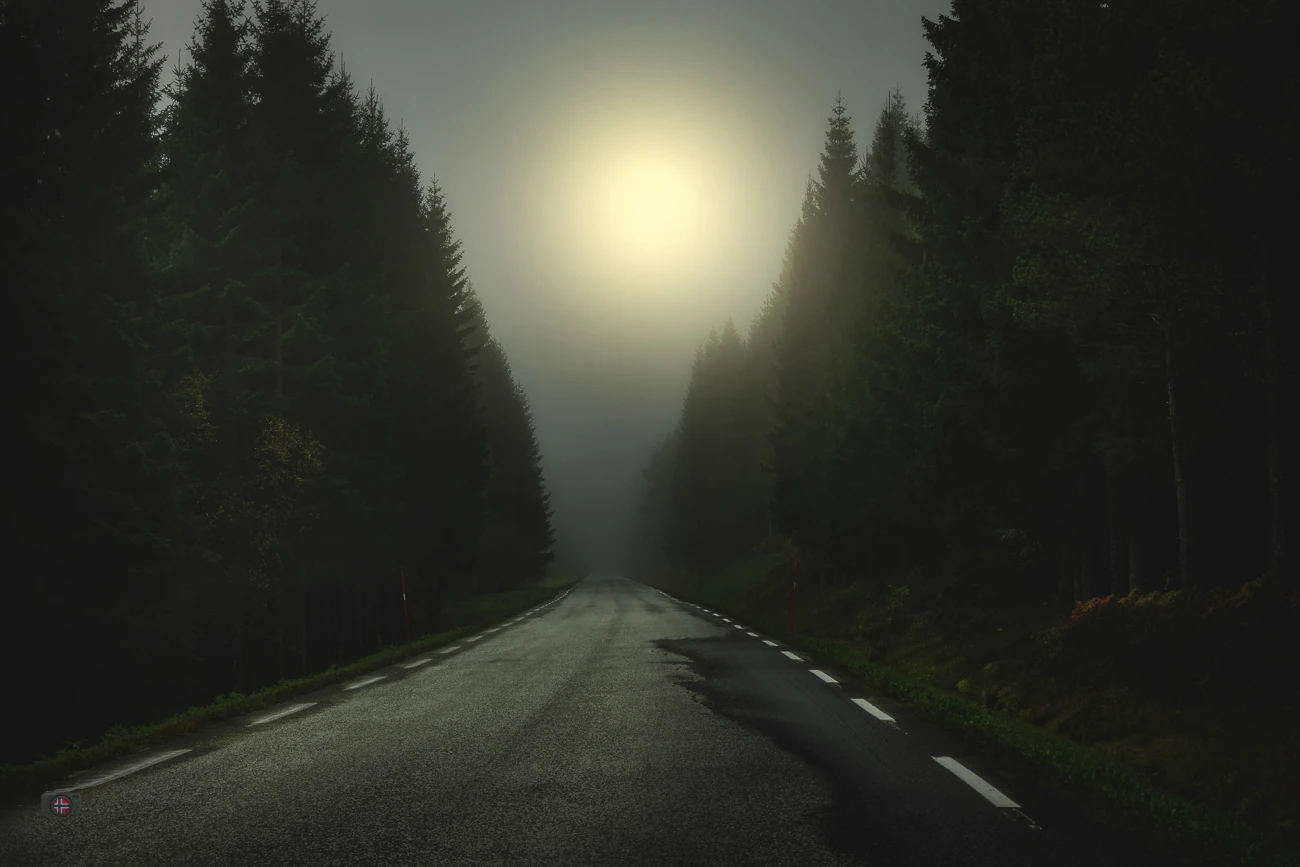
In very thick fog I try not to crowd the foreground with too many dark shapes. Otherwise a reduced composition becomes an unreadable patch of black. The spaces between things matter just as much. Some details are allowed to disappear.
Photographing fog by lakes and in the mountains
In Norway, fog, mountains and water meet in ways that keep pulling me back outside with my camera. A calm lake can add a reflection and give the photograph a second layer. In the highlands a single rock or tree may seem much larger when the surrounding landscape vanishes.
I once photographed fog over a mountain lake using a relatively short shutter speed, keeping the natural structure of the scene and its reflection. The image and the story are in The Hour of Fog. Soft-looking landscapes do not automatically call for long exposures.
Safety matters as much as technique. Fog reduces visibility on paths, near steep slopes and at the water’s edge. Know your location, or leave the photograph for another day when the terrain is unfamiliar. A good image is not worth gambling on the edge of a drop.
Backlight and sunbeams in fog
When sunlight finds an opening, even a small change of position can alter the photograph. Side light and backlight reveal different layers. Sunbeams may become visible when trees or rocks break up the incoming light, although they are never guaranteed. Sometimes the sun remains a bright and shapeless disc.
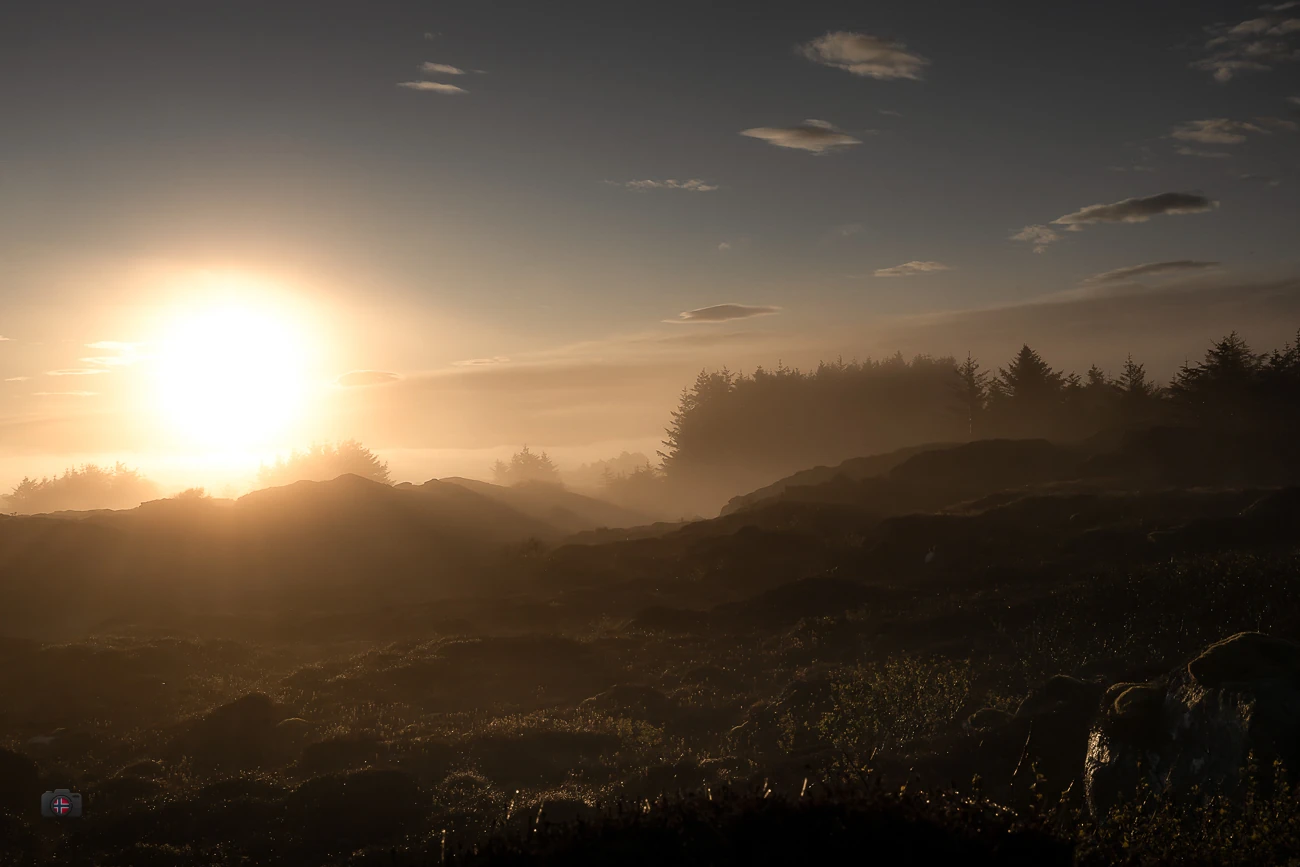
In these situations I watch the highlights carefully. Exposure may need a very different approach from a uniformly bright fog bank. I pay particular attention to the brightest parts of the histogram.
Editing fog photographs in Lightroom
I shoot RAW and develop my images in Lightroom Classic. It allows me to adjust white balance, highlights and shadows separately. Most importantly, I try not to edit away the very fog that made me stop in the first place.
The Dehaze slider is a good example. It can increase contrast and bring out distant structures. Push it too far, however, and the image loses the atmosphere that made the scene interesting. If I use it, I tend to be careful. Local masks allow me to strengthen a particular edge while leaving the background quiet.
Sometimes I reduce saturation a little; sometimes I preserve a warm glow in the light. Black and white can work beautifully when shapes and tonal separation matter more than colour. My aim is to keep the feeling of the moment I witnessed outdoors. I have written more about exaggerated softness and glow in my article on the Orton effect.
Equipment and preparation for a foggy morning
I bring a tripod when the light is low or when I want time to refine the composition. A dry microfibre cloth is always useful too. Fog is moisture, and eventually some of it lands on the front element of the lens. Tiny droplets are surprisingly easy to miss in the viewfinder.
Whether an early start is worthwhile depends on temperature, humidity, wind and the surrounding landscape. Fog often forms on calm, cool nights or near water. A forecast can offer clues but cannot guarantee a photograph. I prefer to allow extra time and look for subjects even where the fog is only beginning to appear.
Frequently asked questions about fog photography
What aperture should I use for photographing fog?
For landscapes, f/5.6 to f/11 is a useful starting point. A wider aperture may suit an isolated tree against a soft background. The best choice depends on the subject, focal length and desired depth of field.
Why do my fog photographs turn out grey?
Often the exposure meter has underexposed a bright foggy scene. Check the histogram and try some positive exposure compensation. A deliberately moody fog photograph can, of course, remain darker.
Do I need a tripod to photograph fog?
Not necessarily. Handheld photography is fine when the light allows a safe shutter speed. A tripod becomes useful in dark forests, before sunrise or when you want a longer exposure.
How can I edit fog without losing its atmosphere?
Shoot RAW when possible, adjust white balance and highlights gently, and add contrast only where it helps the subject. Too much Dehaze can make the mist seem to disappear.
My conclusion: Do not photograph the fog away
To me, fog is not bad weather that photography needs to overcome. It is the subject, or at least an essential part of it. I love the empty spaces, the dark shapes and those areas where I can no longer tell exactly what lies behind them.
The camera settings help preserve that effect. The photograph itself begins earlier: when I decide which tree, which line or which last trace of light deserves to stay. Sometimes it is very little. Very little can be enough.
2 responses to “Nebel fotografieren: Kameraeinstellungen, Licht und Bildgestaltung”
-
Very beautiful photos!
-
Man sieht gleich: da ist ein Profi am Werk!
Leave a Reply